Your first major decision is the type of paint you want to use. It’s always tempting to go for the cheapest option, but you get what you pay for. It’s worth spending a little more on quality paint that will last longer and offer better protection.
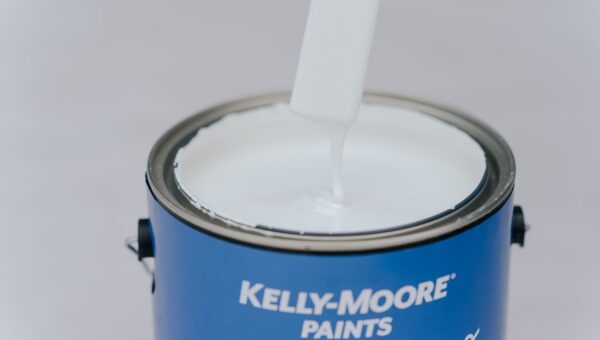
- Water-based paint — also known as latex paint, it’s the most common type used and is more environmentally friendly than oil-based paint. Great for surviving tough weathering, latex paints are also fast drying and don’t have a very strong smell.
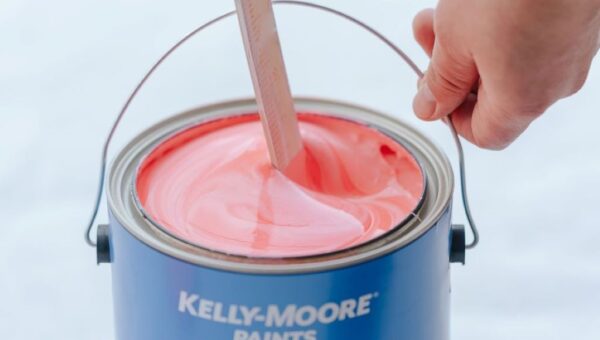
- Oil-based paint — more durable than latex paints, they offer a longer-lasting finish, but take longer to dry, and typically have a harsher smell. They’re best for trims and moldings.
Make a Plan
When it comes to painting your home, the main considerations are weather-related. Ideally, you’ll avoid rain, high winds, and extremely hot temperatures that can cause the paint to dry too fast. For oil-based paints, temperatures between 40℉ and 90℉ are ideal, while latex paint is best applied in temperatures between 50℉ and 85℉. Plan the project around the sun, and avoid painting when the sun’s glare is on the surface you’re painting, as this can dry it out too fast.
You’ll also need to plan for how much paint you’ll need. Since paint is expensive, it’s important to take time to figure this out. Consider the square footage, the materials you plan to paint, the type of paint, and the number of coats. If in doubt, you can normally ask for help at the store.
Prepare for Success
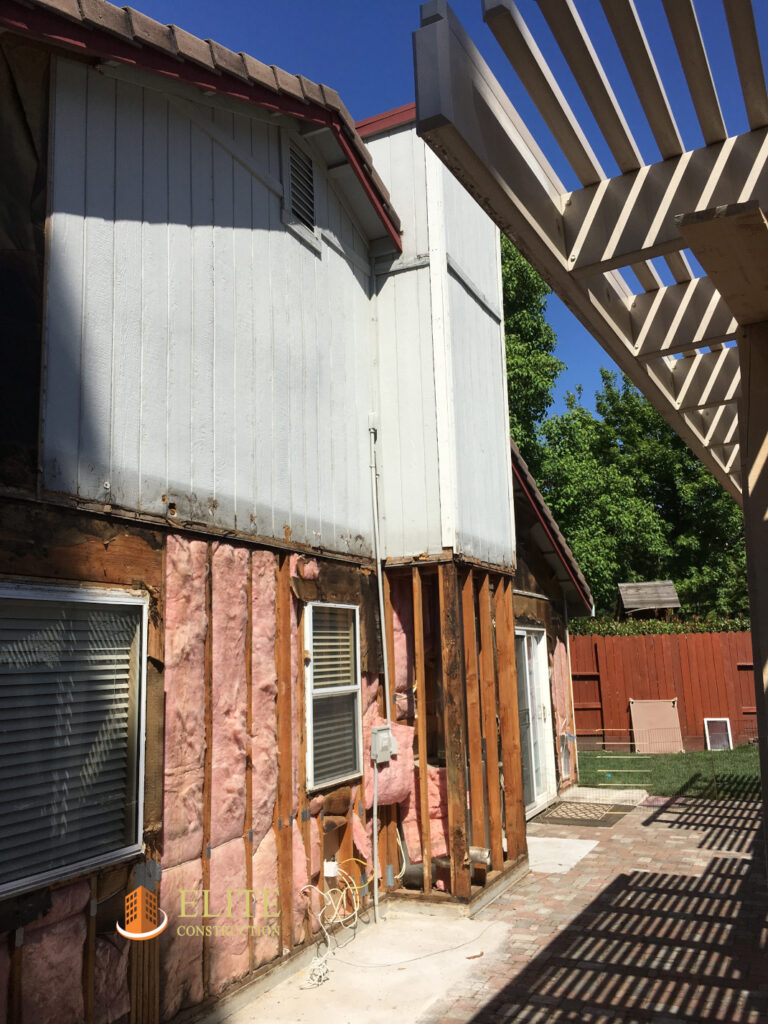
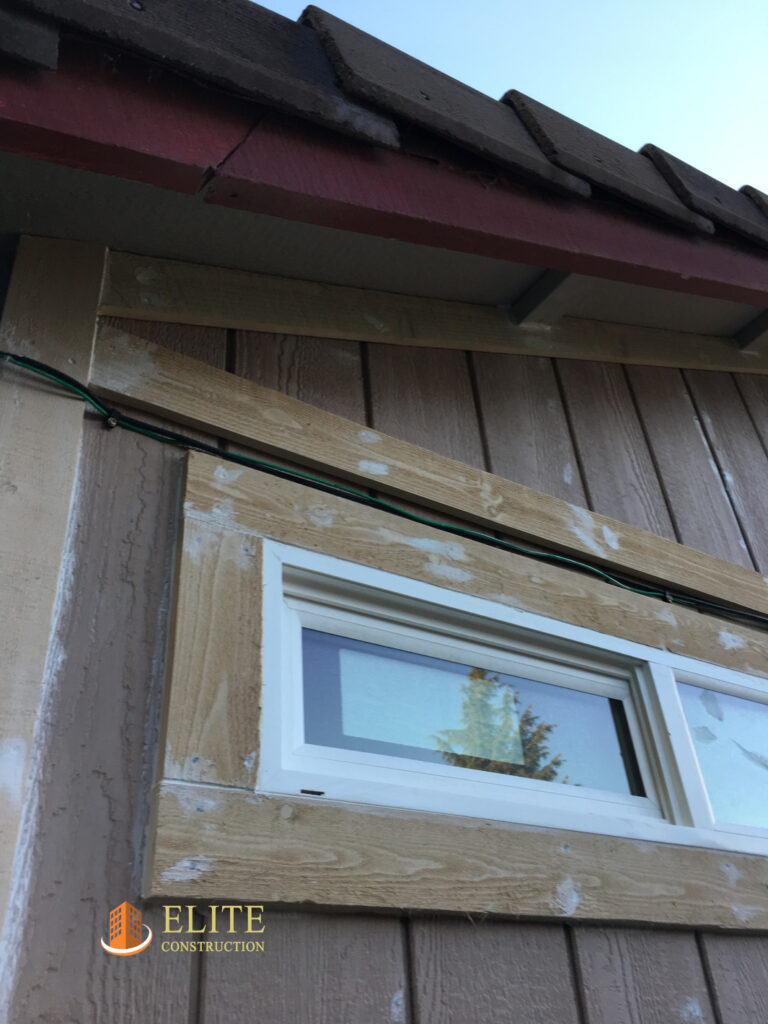
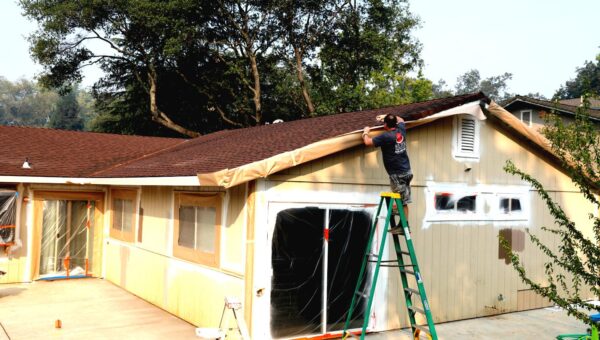
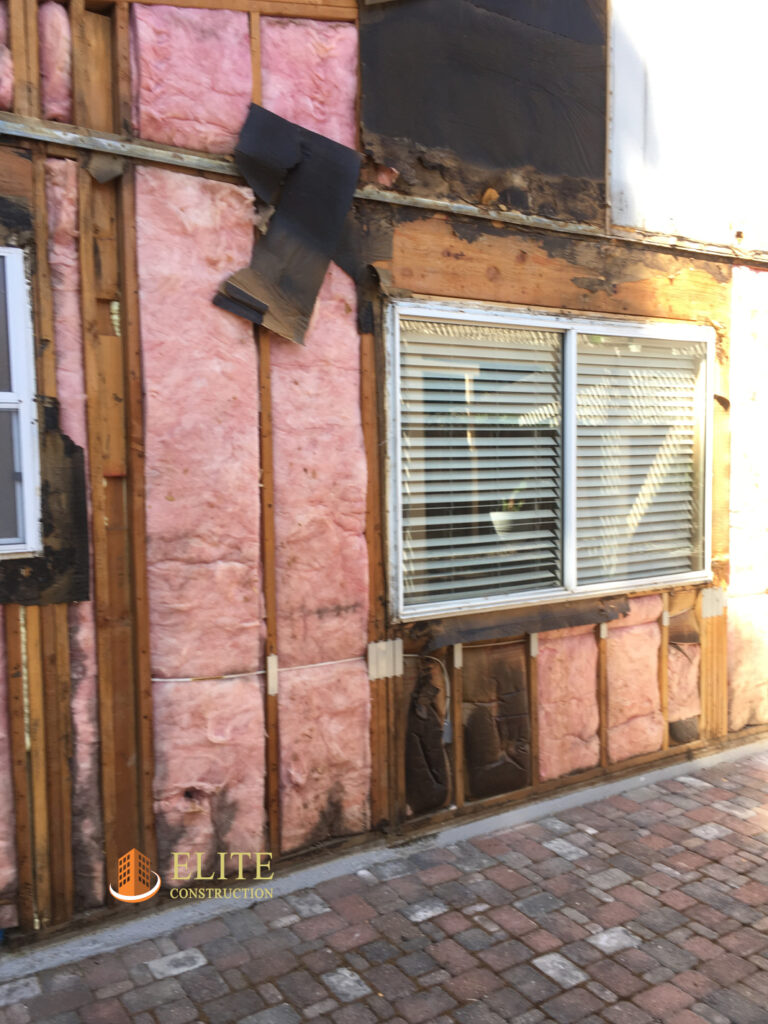
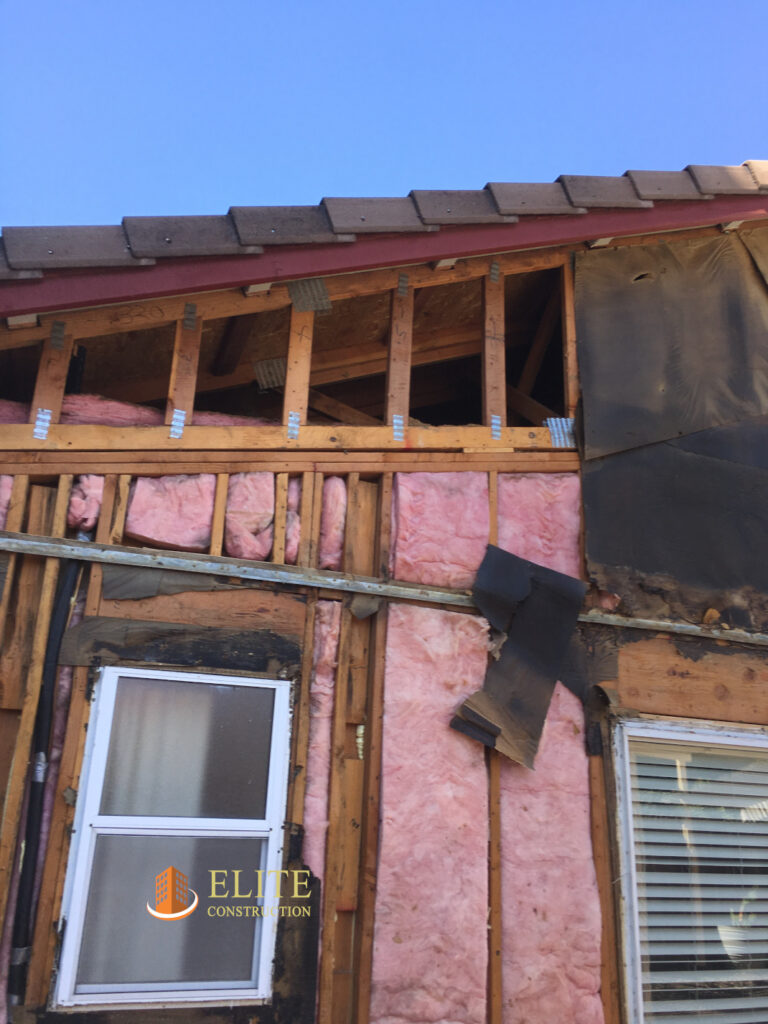
Preparation is essential for a proper paint job, so start by cleaning your walls. Blast the dust and dirt off with a pressure washer. If the previous paint is flaking in areas, scrape it off and sand it smooth. Pay attention to the wooden boards and keep an eye open for any rotting wood. This should be removed and replaced, as it’ll lead to problems later if you just paint over it.
Use caulk to fill in any gaps or dents in the trimming, and replace any cracked caulk to ensure your home remains protected. Sand any rough areas down and blast off the dust with the pressure washer. Once dry, you can apply the primer. Be sure to protect anything you don’t want to get paint on by using tape and dust sheets to cover windows, doors, and things like light fittings.
Use the Right Tools for the Job
Most professionals use a paint sprayer to quickly and evenly apply paint. However, in inexperienced hands, this tool can cause streaking, dripping, and uneven coats. For DIY projects, rollers and brushes are typically the safer options.
Paint Like a Pro
Apply a coat of primer first, as this will increase the life of your fresh coat of paint, and improve the protective qualities. Always start from the top and work your way down, starting with the main bulk of the walls, followed by the trimmings.
You can avoid leaving marks by ensuring you always paint from one wet surface to another, so work in sections. If this isn’t possible, be sure to apply a thicker layer when you have to paint from a dry surface. Finally, be sure to apply two coats. This creates a more durable protective layer that will hold its color for longer, while being easier to wash.


